
I saw this craft over at Disney Family Fun and thought it would be perfect for us to do. There is even a nifty video on their site if you get confused :)
What you'll need:
Bubble Solution-Already had ($1 to buy)
Tempera Paint (I used Food Coloring since we only had Acrylic paint)-Already had (Paint $1 or Food Coloring $2 to buy)
Pie Tins-Already had ($1 to buy)
Drinking Straws-Already had ($1 to buy)
Paper (I used card stock so we can use it for a future project)-Already had ($5 to buy 150 sheets...enough for SEVERAL projects!!)
**To make this toddler friendly, I covered our work station with a plastic sheet we had around the house.
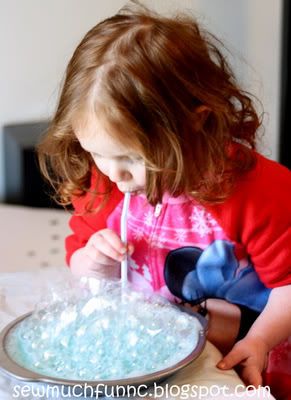
***Watch your kid closely to make sure they don't suck in through the straw! If you have any doubts about your kid, wait until they are a little older please.*** Emily knows better...I have to get on to her about blowing chocolate milk bubbles almost daily! I still watched her closely though.
Once you have a pile of bubbles, hold the paper in both hands and lightly pat the bubbles with the paper. Rotate the paper and repeat with more bubbles if you want more of the effect. I did it three time each because the first few times were pretty light. You can just do the one color or you could do a rainbow of colors on one sheet. It's up to you!!
I used this as a teaching project! Emily knows her colors, so I was showing her how blue+yellow=green! She thought that was neat! We also did red+blue=purple. I want to do this next time using multiple colors in one pie pan to see the effect it achieves!!
So simple to do and no two works of art are ever the same!
Here are some pics from our experience!! Yes, she's wearing pj's...just be happy she even has clothes on!


I think I might take this to the day care for them to try? Awesome idea KAL!!
ReplyDeleteThanks SarahJo18!! I wish I had known to try it back when I was teaching preschool!
ReplyDelete